
Improve the Surface Finish of 3D Printed Jewellery:
A Post-Processing Guide
When jewellers first start using 3D printing, we hear the same thing a lot: "The print came out fine, but the finish isn't as smooth as I expected."
Here's the good news — that's almost never the printer's fault. It's usually about what happens after the print, not during it. Printing is only the first step. What actually turns a decent print into a professional-quality piece is everything you do to it afterward — cleaning, curing, and finishing.
Let's walk through the whole process, one step at a time.
First, Understand This: The Print Isn't "Done" Yet
When a model comes out of the printer, it's still soft and not fully finished. There's a thin layer of uncured resin still sitting on the surface. If you handle it or send it straight for casting at this stage:
- The surface can feel sticky
- Fine details might look soft or blurry
- The model won't be as strong as it should be
So post-processing isn't just about polishing. It's what takes the model from "just printed" to "ready to use."
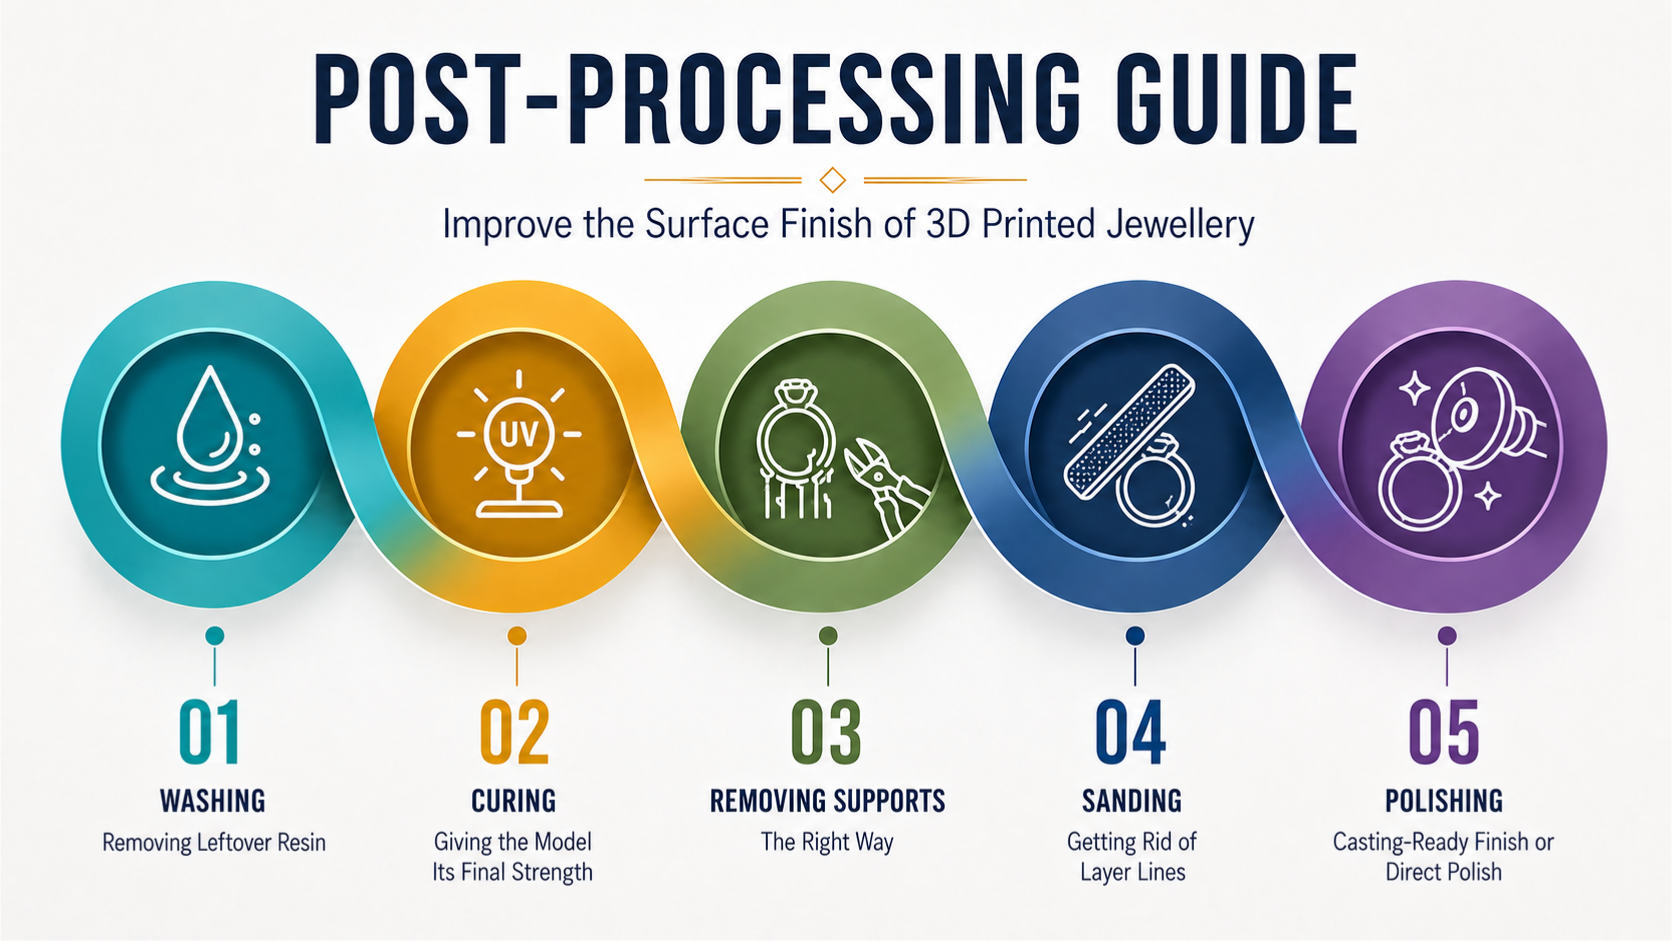
Step 1: Washing — Removing Leftover Resin
Right after printing, there's uncured resin stuck to the surface. This needs to be washed off first.
How to do it:
- Wash or dip the model in isopropyl alcohol (IPA), or whatever your resin manufacturer recommends
- Gently brush the fine detail areas (like stone-setting prongs) — don't press too hard, the model is still soft at this stage
- A few short washes work better than one long one — it removes the resin properly without damaging the model
Common mistake: Washing for too long in one go. This can soften the model or wash away fine detail.
Step 2: Curing — Giving the Model Its Final Strength
After washing, the model goes through UV curing — this is what fully hardens the resin.
What to watch for:
- Follow the exact curing time your resin manufacturer recommends — too little curing leaves the model weak, too much can make it brittle and prone to cracking
- If you have a UV curing chamber, rotate the model evenly so all sides cure equally
- After curing, touch the model to check — it should feel hard and dry, not sticky
Why a dedicated UV curing chamber makes a real difference: A lot of workshops start out curing with sunlight or a basic UV lamp. It works, but the curing often comes out uneven, because the light doesn't reach every side equally. A proper curing chamber fixes this — it gives you 360-degree, even UV exposure, so every piece cures with the same strength and finish, no matter the batch size. If you're still using a manual or inconsistent curing setup and noticing uneven finish quality, this is usually why. We also have our own UV curing chamber, built specifically for jewellery resin printing — get in touch with our team if you'd like to upgrade your curing setup.
Step 3: Removing Supports — The Right Way
Most jewellery prints have support structures that hold the model in place while printing. These come off after curing.
Best practice:
- Gently twist or cut the supports off — don't snap them off with force, as this can damage fine details
- Lightly file or sand down the small marks left behind
- Be extra careful with delicate designs (like thin bands or filigree work) — this is where pieces can accidentally break
Step 4: Sanding — Getting Rid of Layer Lines
This is the step that really decides your surface finish. 3D printing leaves behind faint "layer lines" — this is completely normal, and sanding is what smooths them out.
Process:
- Start with a coarser grit (around 400-600) for uneven areas
- Move gradually to finer grits (800, 1200, or higher)
- Avoid sanding fine detail areas (stone settings, engravings) where possible — sanding here can dull the sharpness
Tip: Don't rush this step. The more care you put into sanding, the more professional the final piece looks. This is the part that rewards patience the most.
Step 5: Casting-Ready Finish or Direct Polish
If the model is going straight to metal casting, this is usually enough — the casting process itself smooths out some remaining imperfections, and the real polishing happens on the metal afterward.
If you want to present or display the resin model itself (like for a sample or prototype), then:
- Use a fine polishing compound
- Lightly buff the surface until it shines
- Apply a clear coat if you want extra protection
Common Mistakes That Ruin the Finish
- Skipping or reducing curing time — leaves the model weak and prone to damage while handling
- Sanding too early — if the model isn't fully cured, sanding can leave the surface uneven
- Using only one grit — jumping straight to fine sandpaper wastes time; go from coarse to fine gradually
- Forcing supports off — the most common reason fine details get damaged
Once You Set Up the Process, It Stays Consistent
Just like with casting, post-processing becomes repeatable and predictable once you've got the steps right. Your team settles into a routine, and every print comes out with the same quality finish — whether you're making 5 pieces or 500.
Need Help Setting Up Your Post-Processing?
If you're not happy with your current finish, or need help setting up the right tools and process — whether that's a washing station or a proper UV curing chamber — our team can help guide your setup.
Contact us for guidance, or check out our full range of jewellery 3D printers that deliver consistent, high-detail prints.
How to Improve the Surface Finish of 3D Printed Jewellery: A Post-Processing Guide